Reference
Better information.
Better identification.
Terminology, identification method and documentation structure for automotive seatbelt enquiries. No repair procedures, no specifications, no invented standards.
- Covers
- Terminology, identification, photography, documentation
- Excludes
- Repair, modification and specification data
- Audience
- Commercial buyers preparing an enquiry
What this reference is for
This is a buyer-facing reference. It explains the vocabulary used in seatbelt enquiries, what makes a description reliable, and how to gather the information that lets a requirement be answered accurately.
It is not a repair manual and it is not a specification database. It contains no procedures for working on restraint systems, no dimensions, no ratings and no standards — because those belong to the actual item and its documentation, and publishing unverified versions of them would be actively harmful in a safety-related purchase.
Nothing on this page describes how to repair, modify, bypass or disable a seatbelt or any part of a restraint system. Restraint systems protect people. Work on them belongs with qualified personnel, using correct parts and correct procedures.
If a restraint has been involved in a collision, has visible damage, or does not operate as expected, treat it as a matter for qualified inspection rather than for improvisation.
The words worth using precisely
A shared vocabulary removes a surprising amount of friction. These are general terms in common use across the automotive trade, given here in plain language.

- Webbing
- The woven strap itself. Described by colour and by how it is routed through the cabin.
- Tongue / latch plate
- The fitting on the belt that inserts into the buckle. Its shape and the way it sits on the webbing are both identifying features.
- Buckle
- The receiving part that holds the tongue and releases it. Usually the part carrying a release actuator.
- Release actuator
- The control that releases the tongue from the buckle — commonly a coloured button on the buckle face.
- Anchor point
- Where the restraint attaches to the vehicle structure or to the seat. Photographing this is as useful as photographing the part.
- Height adjuster / guide
- A fitting that positions the belt as it passes the pillar or seat. Not present on every arrangement.
- Seating position
- Where in the cabin the restraint serves — driver, front passenger, rear outboard, rear centre. Name it explicitly.
- Assembly
- The restraint considered as one supplied unit rather than as separate components.
Four sources of identification, ranked
Not all identification evidence is equally strong. When two sources disagree, the higher-ranked one usually wins.
Markings on the item
Anything moulded, stamped, printed, woven or stitched onto the part. Record it exactly as written, including characters that look like noise — they rarely are.
The vehicle itself
The vehicle the part came from, described as fully as you can. Variant and build details matter more than most buyers expect.
Photographs
Multi-angle images of the part and its mounting point. Weaker than a marking, but stronger than any written description.
Written description
Useful for context and for stating what you need, but the least reliable source when used alone to establish what a part is.
If you can only do one thing before enquiring, look for a marking on the part and photograph it clearly. It costs a minute and it is the single highest-value piece of information you can supply.
Photographing a component so it can be read
Vehicle interiors are among the worst photographic environments in ordinary life: dark, cramped, high in contrast and full of reflective black plastic. A little method goes a long way.
The goal of every frame is the same: let someone who has never seen your part work out what it is. That means light on the subject, a background that does not compete with it, and enough angles that no face goes unrecorded.
Take more photographs than you think you need. Deleting a spare frame costs nothing; discovering that the one angle carrying the marking was never taken costs a day.
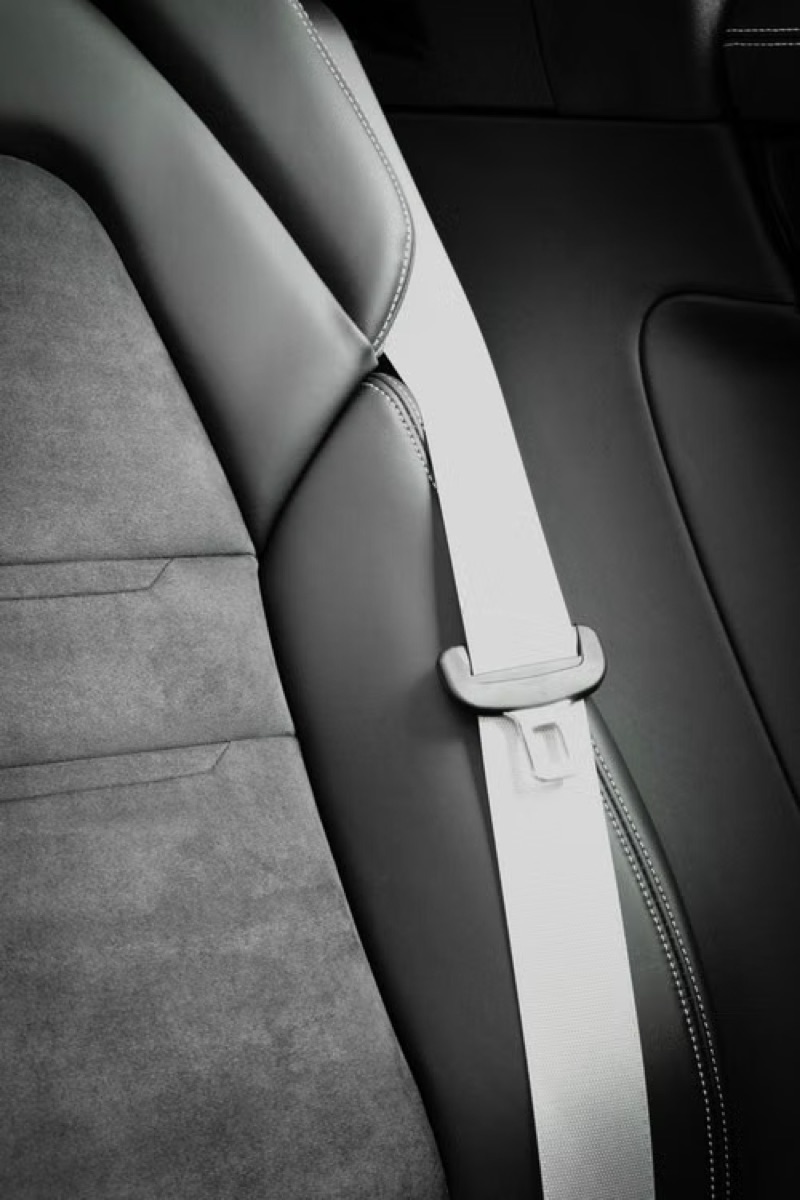
Remove or open up
Where it is safe and appropriate to do so, photograph the item away from the cabin. If it must stay in place, open the door fully and let daylight in.
Plain background
A sheet of paper, a workbench, a clean floor. Contrast matters more than tidiness — dark parts on a light surface.
Fill the frame
Move closer rather than zooming. The part should occupy most of the image, sharply focused, with the camera steady.
Cover all faces
Front, back, edge, and the surface that attaches. Markings hide on the faces people forget to photograph.
Flash fired directly at glossy black plastic; photographs taken through a partly open door; heavy compression from messaging apps; screenshots of photographs. Each of these loses exactly the detail that identification depends on.
If size is part of the question, lay a common object of known size beside the part — a coin, a rule, a pen. It converts an ambiguous photograph into a measurable one without you needing to measure anything.
Writing the requirement down
A requirement that exists only in someone's head cannot be checked, compared or repeated. Writing it down in a consistent shape is what makes a second order as easy as the first.
| Field | What it captures | Why it matters |
|---|---|---|
| Application | The vehicle or duty the item serves. | Anchors every other detail; without it the rest is unverifiable. |
| Position | Where in the cabin the restraint sits. | Distinguishes items that are otherwise described identically. |
| Item | Whole restraint, assembly, or a named component. | Sets the scope of what is being asked for. |
| Evidence | Markings recorded, photographs taken. | Turns a claim about the part into something checkable. |
| Quantity | Units, positions per vehicle, vehicles in total. | Makes the commercial side of the enquiry answerable. |
| Destination | City and country where goods must arrive. | Shapes how the conversation and the handover are structured. |
| Cadence | One-off, or repeating at some interval. | Determines whether this is a transaction or a supply relationship. |
| Open points | Anything not yet decided. | Prevents assumptions from hardening into misunderstandings. |
Scroll the table sideways to see all columns
Put the reference to work.
The resources page turns this structure into checklists you can work through, and the enquiry form follows the same order.